This is about my experience with the MMU3 kit.
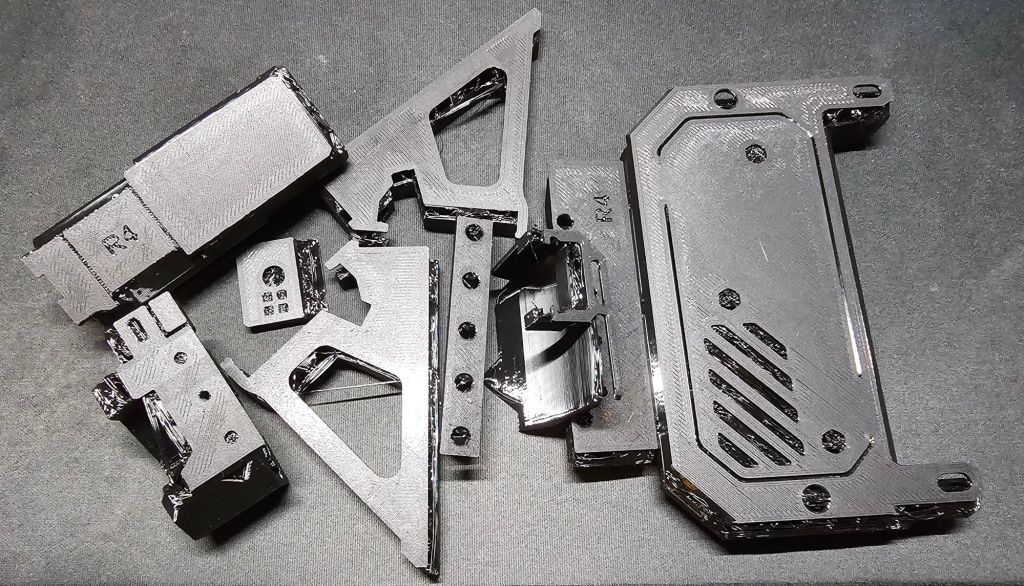
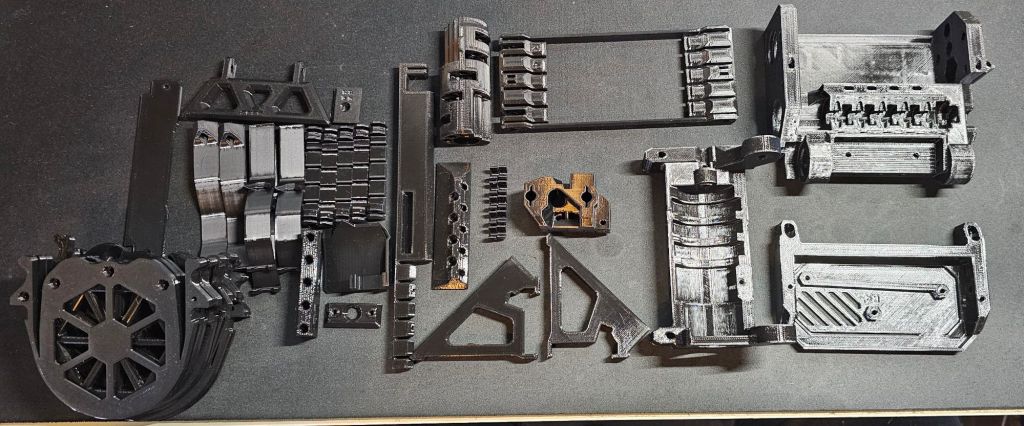
The day my MMU3 kit arrived I started printing the MMU3 parts with the included Prusament Black PETG. At first I only used the the .bgcode’s from the official Printables page of the MMU3.
The first few prints printed fine, but I encountered an oopsy. The thing with Grid infill is that the nozzle can scrape over the infill and makes an annoying sound. Me and Grid infill aren’t the best of friends. (lol)
Before I went to sleep, my MK4S made such scraping sound, but I thought it’s okay, just the infill. I was wrong. Somehow, I think because of the Grid infill, all parts on the bed had a major layer shift. Fortunately I did have enough filament and sliced the rest of the parts myself with Cubic infill.
The build itself was really easy, the assemby manual is great and I had a lot of fun building it! Great job Prusa!
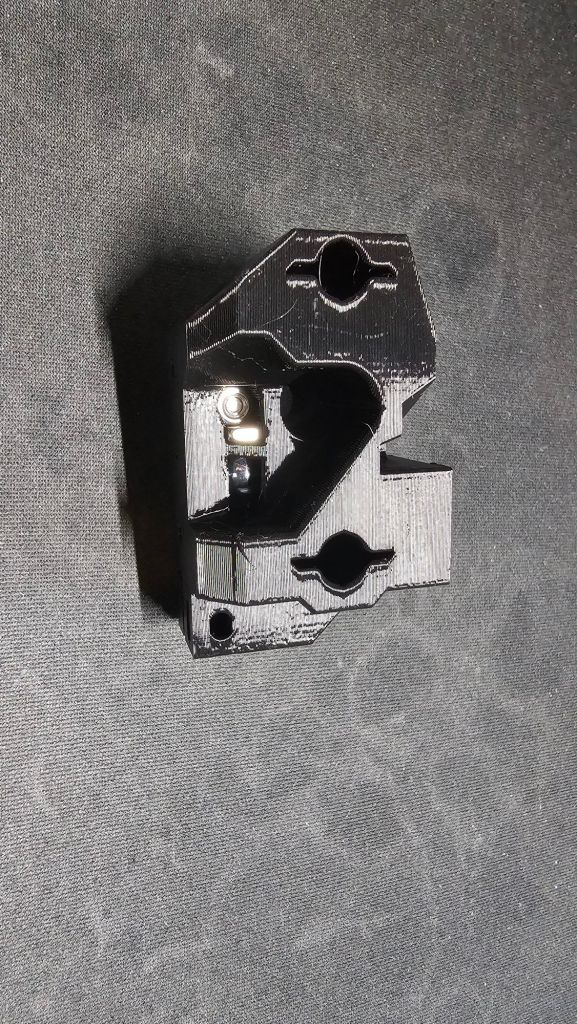
Idler Body Assembly.

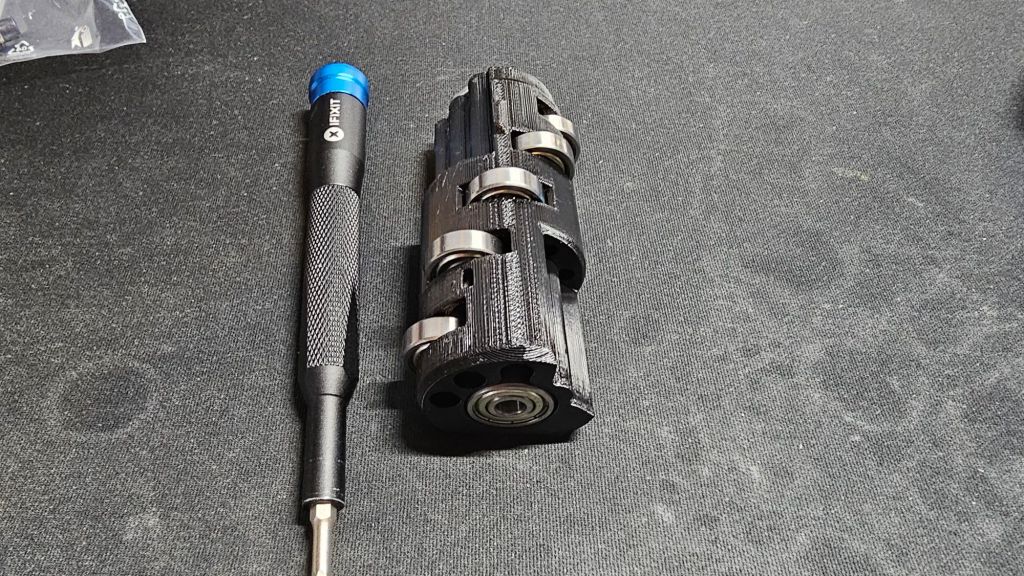
Selector Assembly is next.
Like the first one also easy. Prusa did really think about it. Making a DIY version an option, but also making it not too difficult. That I like!


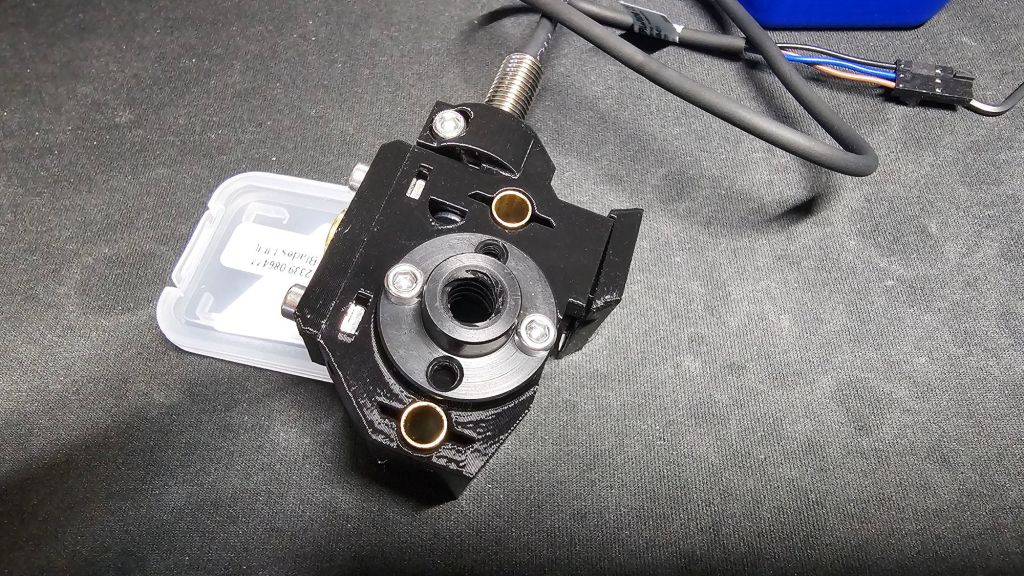
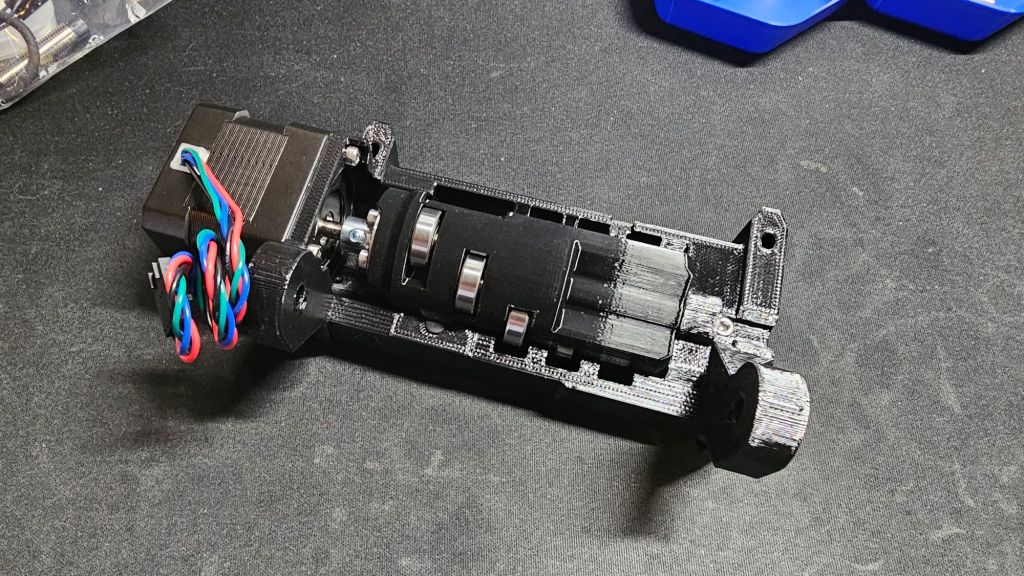
Pulley Body assembly.
After the Selector came the Pulley Body assembly. At first the Selector wasn’t moving smoothly, but I took the risk to move on with the assembly instead of inspecting it further.

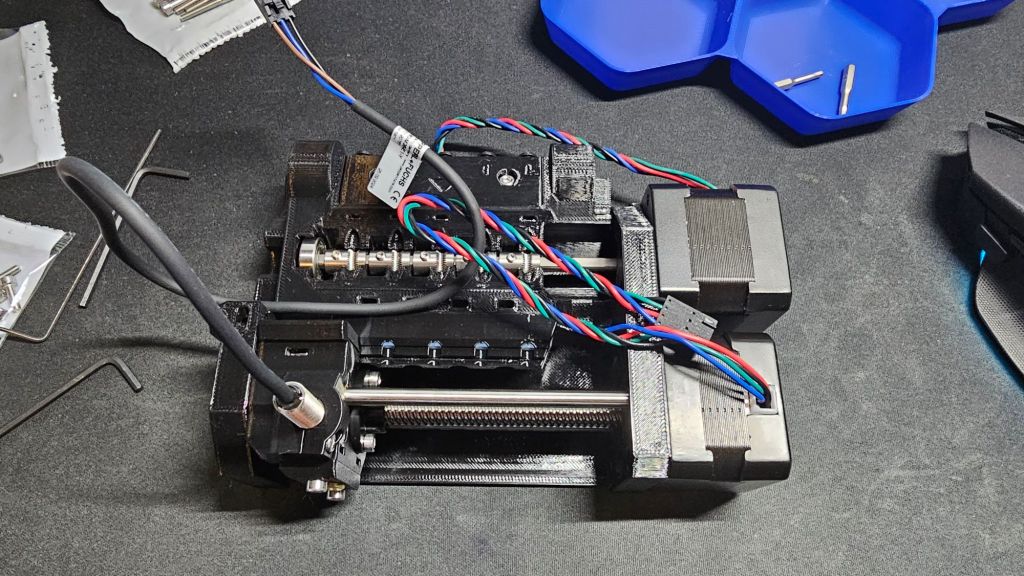
Fortunately it was okay that I skipped investigating it further, when it was done it moved just fine.
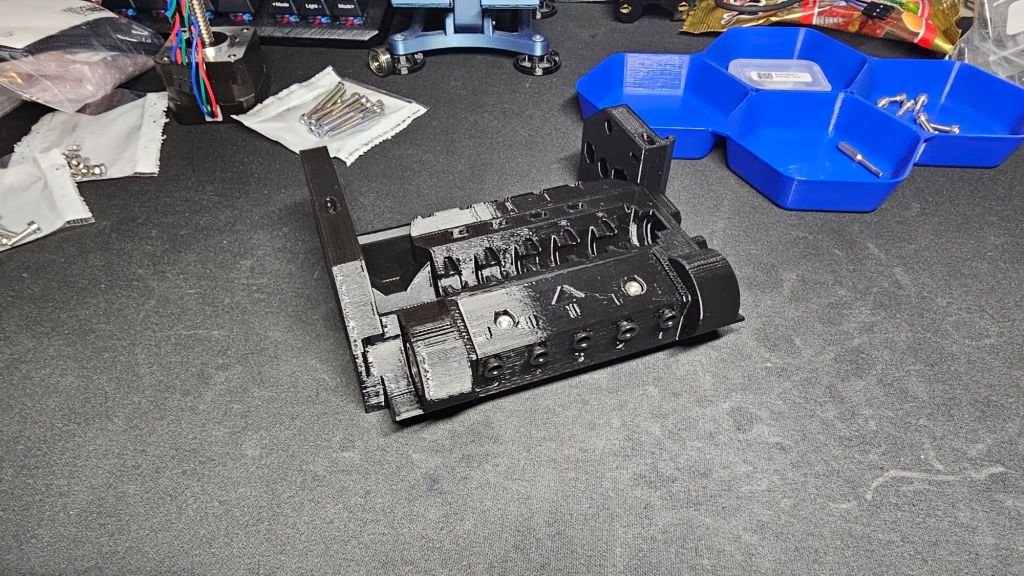
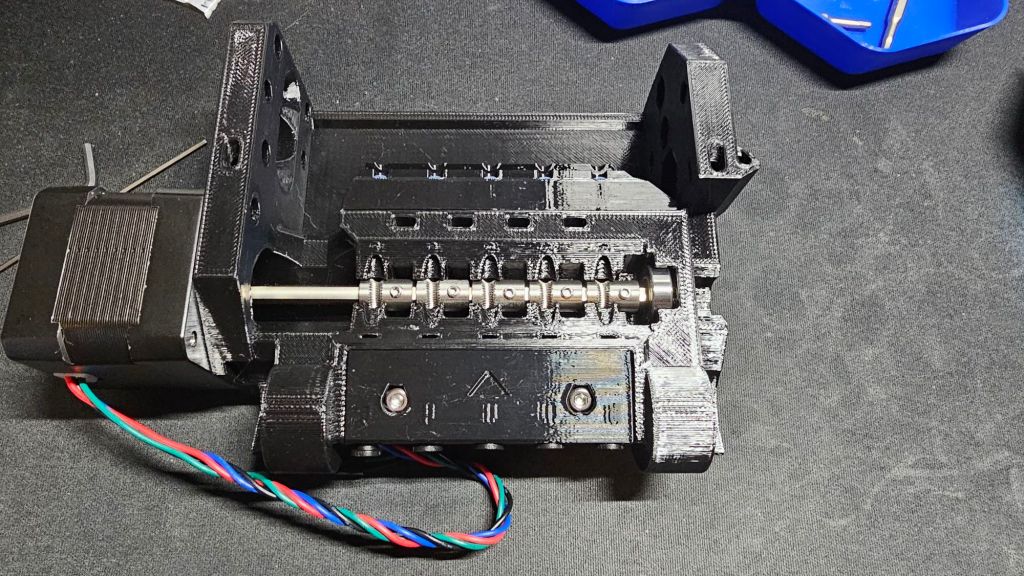
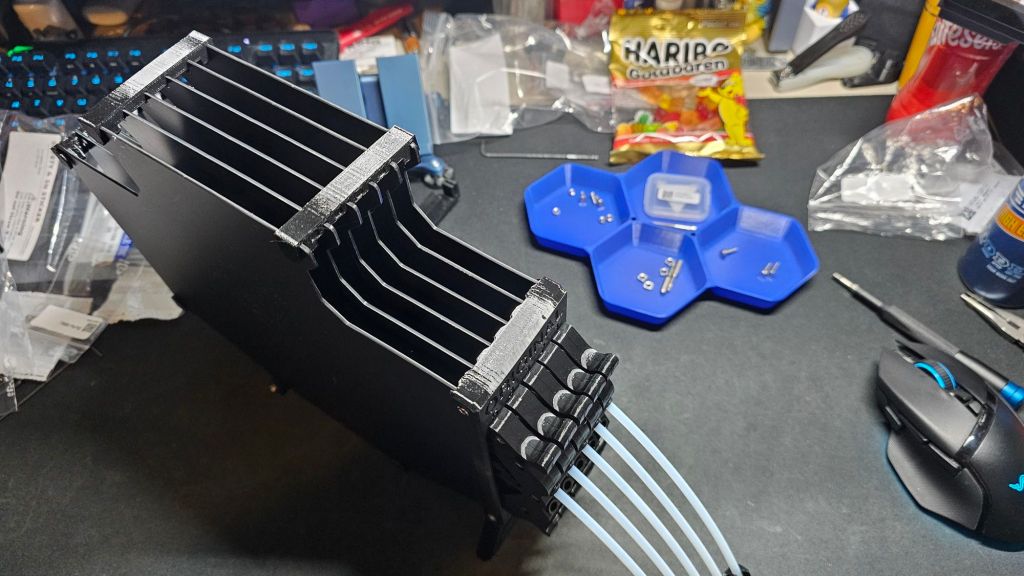
Buffer assembly.
That one was a tiny bit trickier. Trying to mount all buffer plates at once with the screws was a bit difficult. There always were at least 2 plates that were stubborn, so I did first half of the plates and then the rest. Much easier!
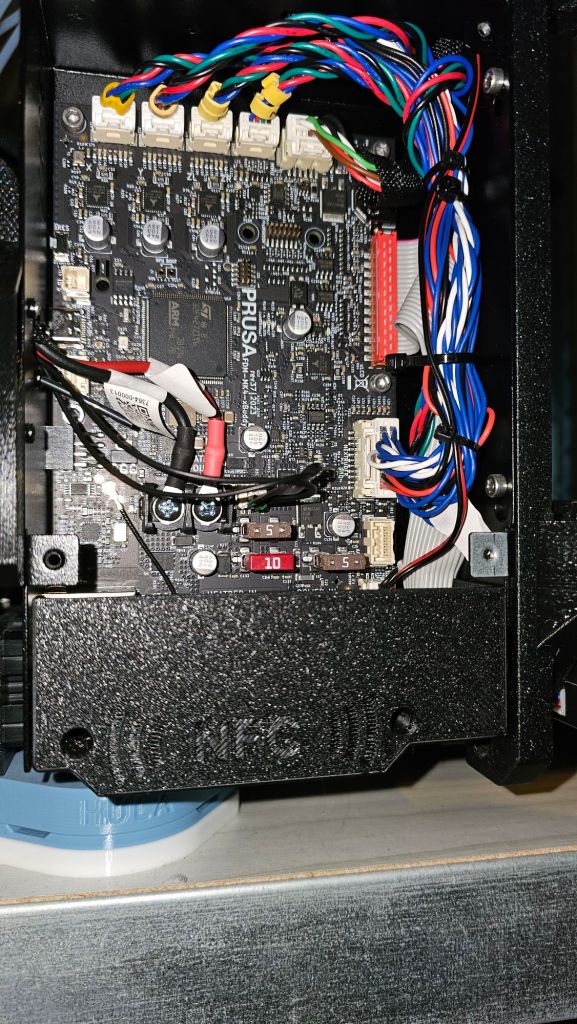
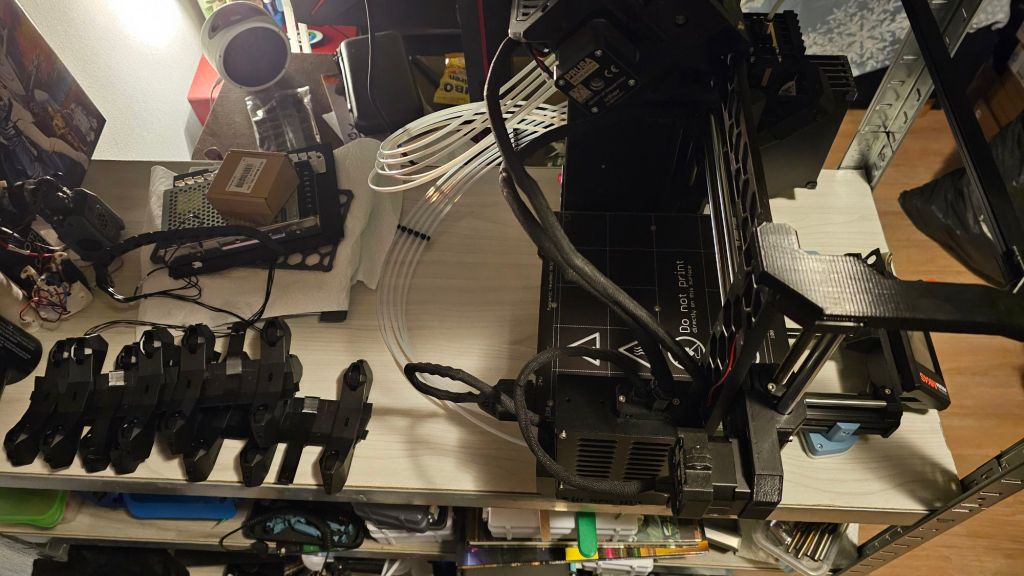
Connected the MMU3 connector to the Buddy board. It’s the fifth at the top from left to right. (Right besidea the four stepper connectors.)
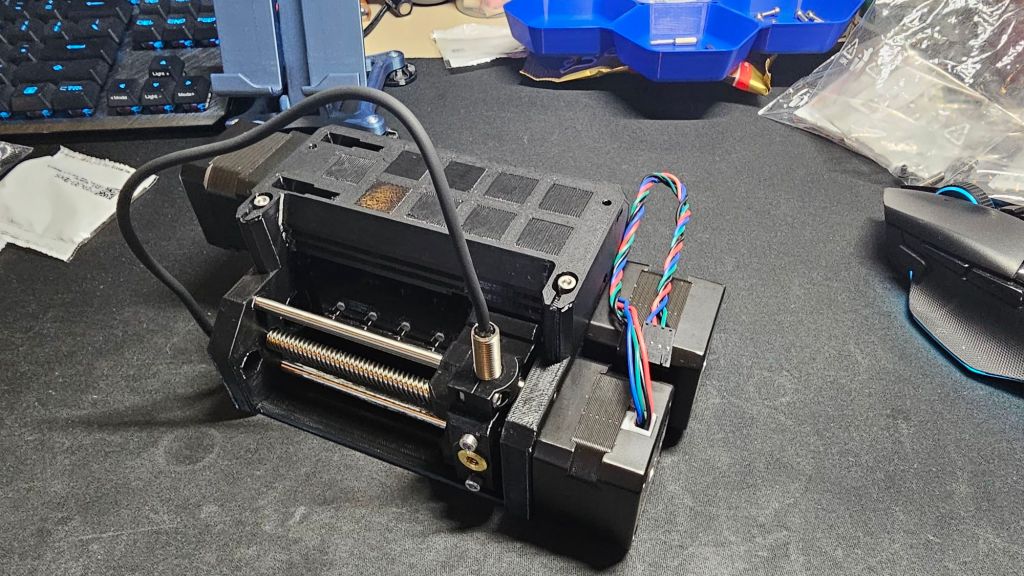
Was almost done. The MMU3 was mounted on the top of the MK4S, I only needed to make room.
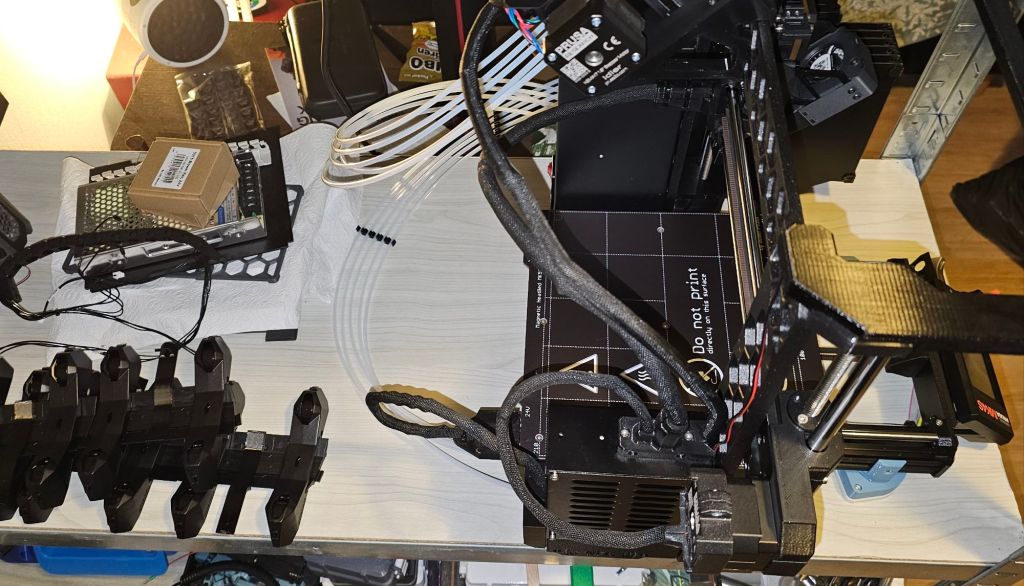
The buffer isn’t properly seated besides the MK4S, because I have different feet. I use the Thrutheframe HULA feet. I’m planning to find a modification for the buffer. Probably one that still used the cassettes, but removes the buffer itself.
I completely forgot to make pictures of the Nextruder upgrade that’s needed for use of the MMU3. The filament sensor was changed among a few other parts.
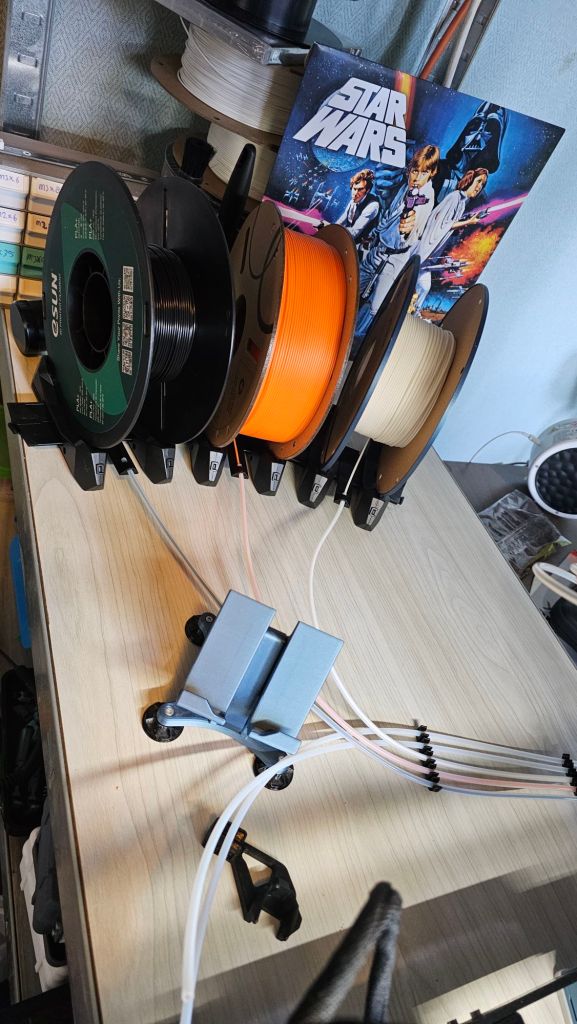
Finally!
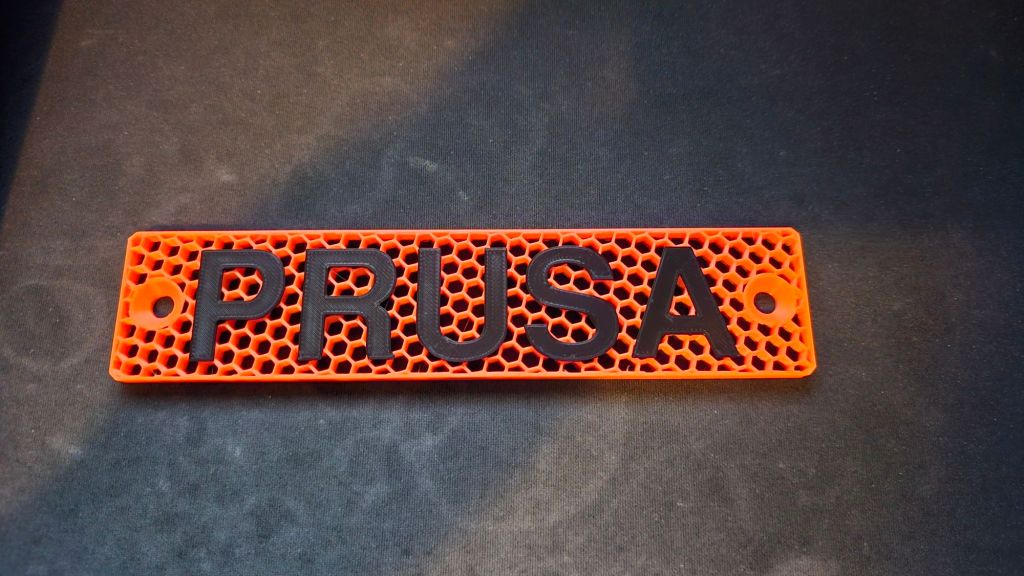
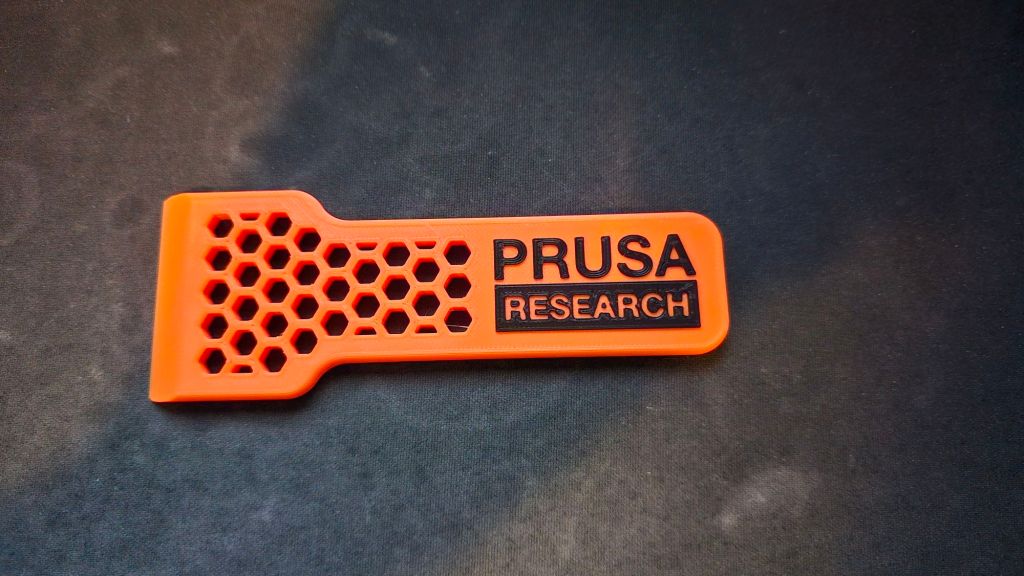
It’s ready for the first ever test print with three colors! eSun PLA+ Black, Elegoo PLA Orange and Polymaker Polylite PLA White. The spool holders are the included injection molded ones.
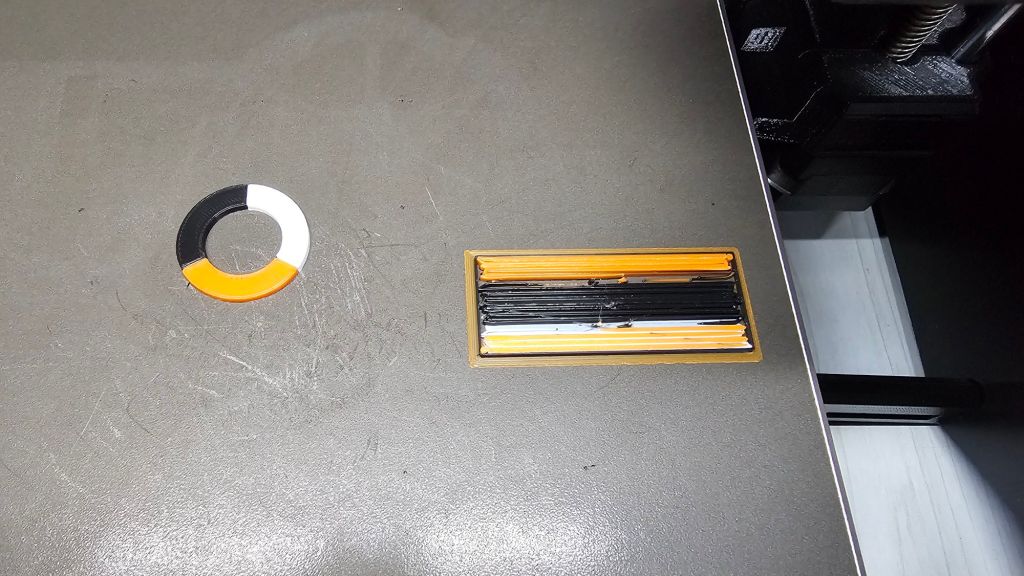
Today, Monday February 3, I did some more print with the MK4S and MMU3! I will include the links of the printed models.
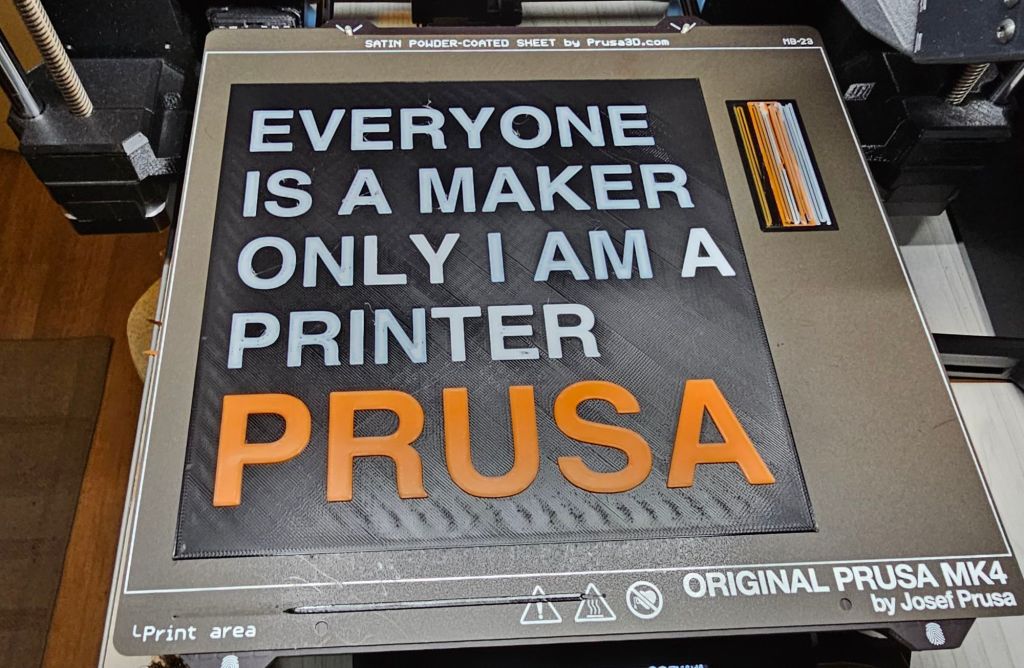
So far no problems and it just works. Love it!
I only wish that the MMU3 controller board had an USB-c port instead of micro-USB. That port is needed in order to flash firmware to the board. It’s not a huge issue, but I do have more USB-C cables then micro-USB cables.
My MK4S is not enclosed, so I can’t try ABS. The Prusa Core One kit is on my to-buy-list later this year or next year. EVentually my plan is to switch the MMU3 from my MK4S to the Core One.
I really hope you enjoyed this blog. I do love showing picture more then text, so I try a bit of both.

Geef een reactie op Near future projects – When DIY, Then Diy! Reactie annuleren